
If you’ve decided to jump into developing within the Modern sites aspect of SharePoint 2016/Online then you’ll need to setup a REACT environment for your SharePoint Development.
In this post we’ll go through all of the steps required to get yourself up and running, this will also include cloning the PNP examples library
First thing we’ll need is the actual local environment required to run all of our different modules and applications within, the easiest way of setting this is using the JavaScript server side framework called Node.JS
What is Node.JS (extract from nodejs.org)
Node is similar in design to, and influenced by, systems like Ruby’s Event Machine or Python’s Twisted. Node takes the event model a bit further. It presents an event loop as a runtime construct instead of as a library. In other systems there is always a blocking call to start the event-loop. Typically behavior is defined through callbacks at the beginning of a script and at the end starts a server through a blocking call like
EventMachine::run(). In Node there is no such start-the-event-loop call. Node simply enters the event loop after executing the input script. Node exits the event loop when there are no more callbacks to perform. This behavior is like browser JavaScript — the event loop is hidden from the user.HTTP is a first class citizen in Node, designed with streaming and low latency in mind. This makes Node well suited for the foundation of a web library or framework.
First thing you’ll need to do is download Node.JS from here and then install the software using your preferred method (see guides on website for further details). Note I’ve pointed to the old 6.x version as the newer 10.x (at the time of writing this) does not fully support all operations and can lead to errors when running SharePoint builds.
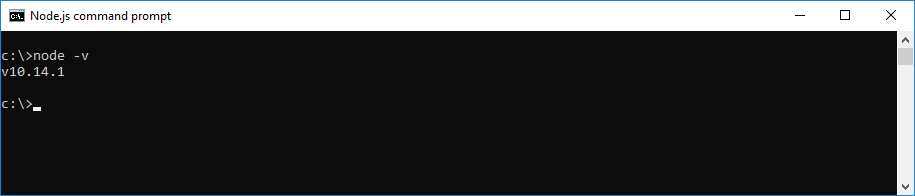
Once installed you will have Node.js as option in the start menu which will open a command prompt like below, you can check the version of Node installed by entering node -v in the command prompt
Now if you haven’t already, you’ll need to install a code editor. My preference for this is the FREE Visual Studio Code as it provides all sort of great features and allows modules to be installed which helps make every developers life easier!
https://code.visualstudio.com/download
Next it’s worth installing a GIT manager by downloading it from https://git-for-windows.github.io and installing it on your machine, we will use this later on to clone a copy of the PNP examples for SharePoint.
Now go back to the Node.js command prompt and type in the following commands:
- npm i -g yo
-
npm i -g gulp
-
npm i -g typescript@latest
-
npm i -g @microsoft/generator-sharepoint@latest
- gulp trust-dev-cert
1 installs YEOMAN https://www.npmjs.com/package/yo
2 installs GULP https://www.npmjs.com/package/gulp
3 installs TypeScript for easier JavaScript typing and cross platform compatability
4 installs our YEOMAN SharePoint framework – this is the most important one! https://www.npmjs.com/package/generator-sharepoint
5 installs the trusted development certificate for SSL use
Note: When building a new webpart and using Node.js version above 8.1 run the following command npm i to avoid errors with the dev certificate